SWYFT Link and DFU
Configuration, firmware, and DFU recovery.
SWYFT Link runs in a web browser, or as an app on the 2027 SystemCore. Same pages in both places: Control, Config, Health, Firmware, Console, Docs.
Install on SystemCore
Package: SWYFT Link 2026.08.29.ipk
- Connect to the SystemCore over USB-C or Wi-Fi.
- Open it in a web browser. USB-C:
172.26.0.1. Wi-Fi:172.30.0.1. - On the SystemCore front page, hit Add package.
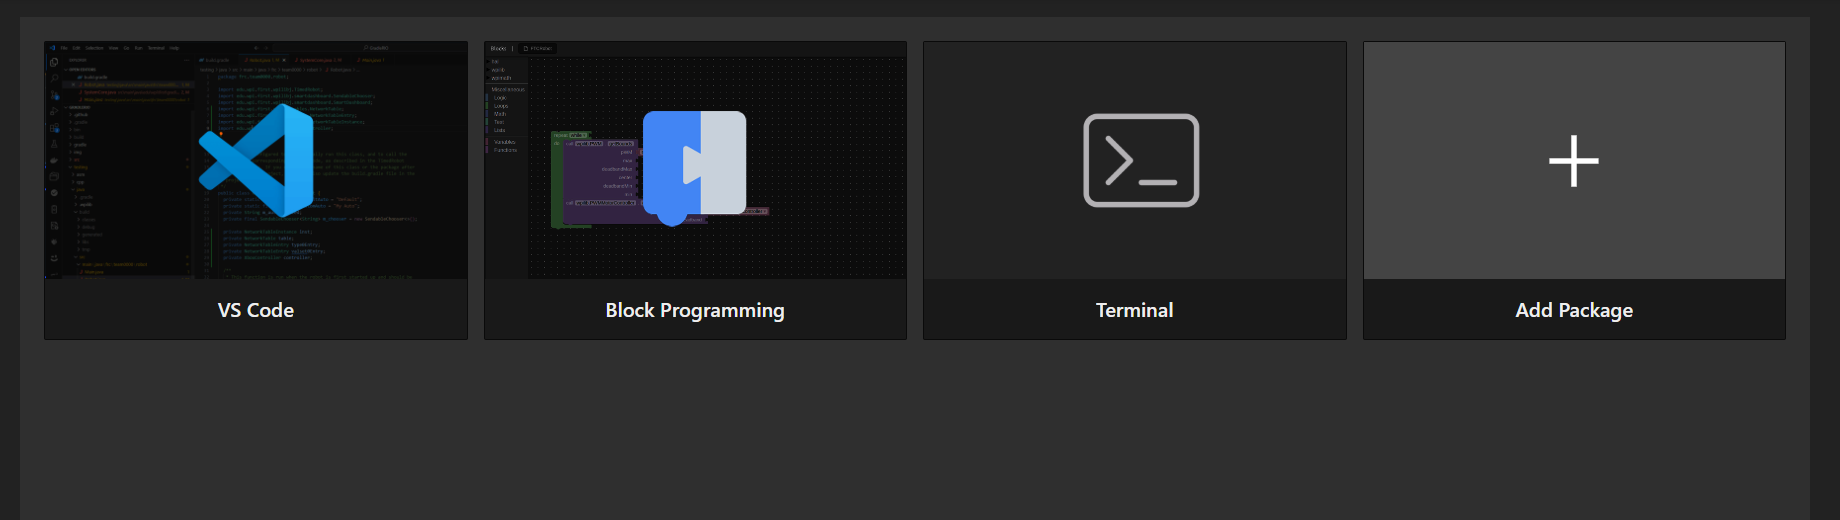
- Drag in
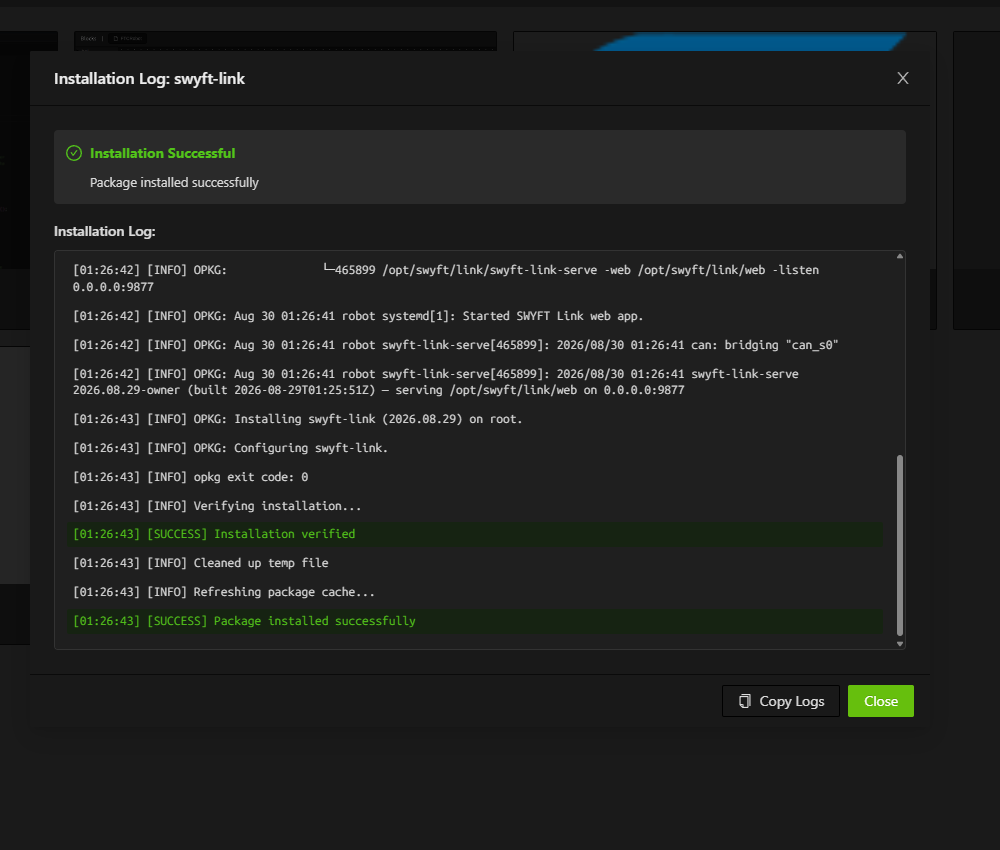
SWYFT Link 2026.08.29.ipk, or click the box and select it from a folder. It installs on its own.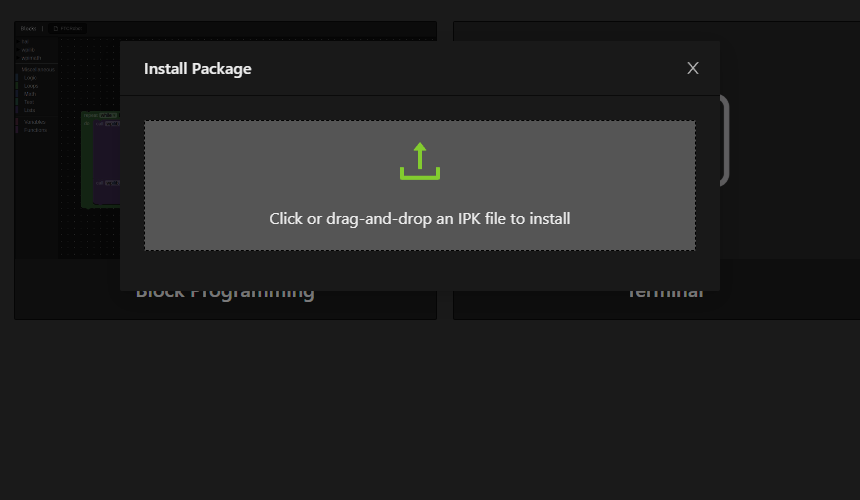
- A SWYFT Link tile appears on the SystemCore home page. Click it to open the app.
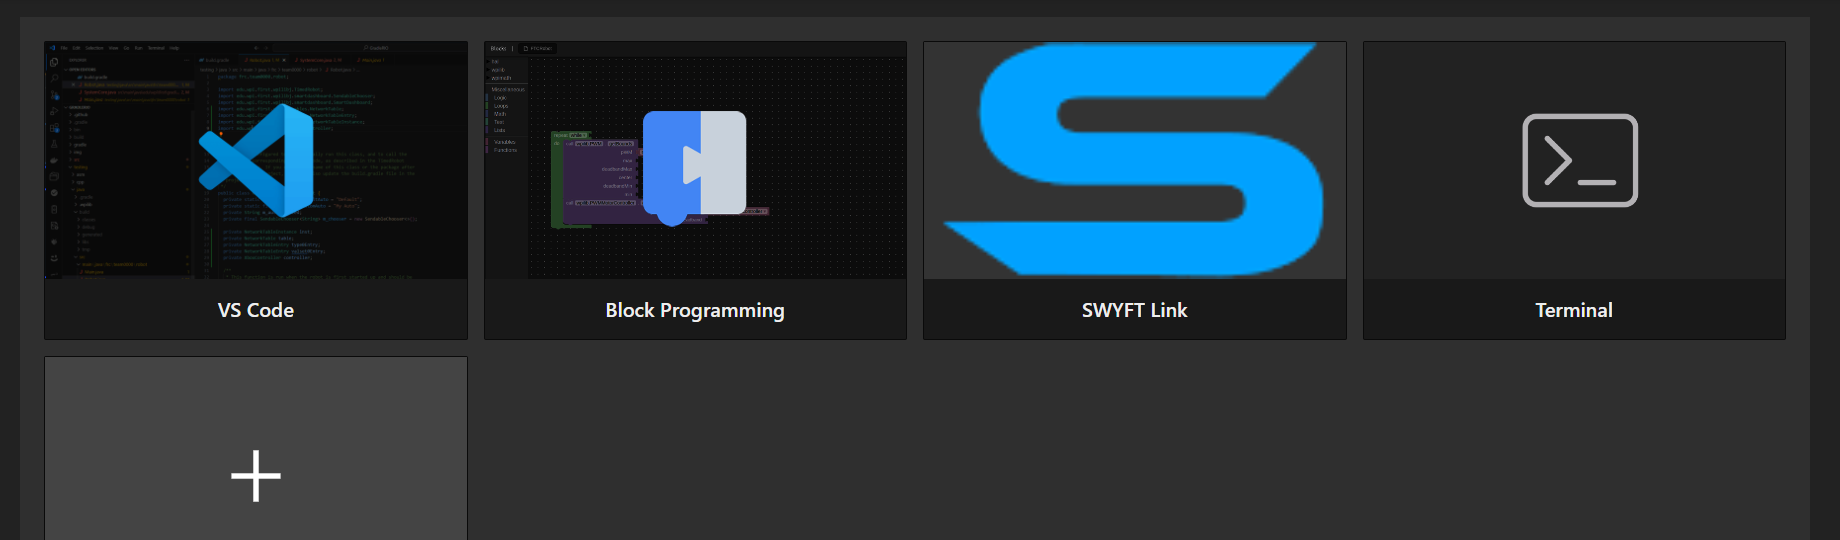
- A Cyclone must be on the CAN hub so SWYFT Link can auto-detect it.
Features
Click a row for the page in the app and the steps. Where is Browser and/or SystemCore.
Auto-detect BrowserSystemCore Finds Cyclones on its own. No Connect tab.
Browser: connect a Cyclone through USB-C and SWYFT Link opens onto that motor. SystemCore: Cyclones already on the CAN hub appear in the device list. Nothing to pair. A Cyclone has to be plugged in (USB-C) or on the hub (CAN) or there is nothing to detect.
USB-C Browser Connect a motor through USB-C. Configuration, firmware, and output. Power leads 7–20 V.
Open SWYFT Link in a browser. Connect the motor through USB-C. Auto-detects — there is no Connect tab. Configuration, firmware, and output. Power leads 7–20 V; USB-C does not power the windings. One commander.
SystemCore SystemCore Same app on the robot. Motors already on the CAN FD bus show up here.
Open SWYFT Link from the SystemCore home-page tile. It auto-detects every Cyclone on the CAN hub. A Cyclone must be connected through CAN. Configure and command from there. The Driver Station must be in the required state before a motor will spin on the field. Firmware install is the Firmware page in the browser, with the motor connected through USB-C — not this path.
Device list SystemCore Name, CAN ID, firmware, Live / Stale / Fault. USB-C is one motor, so there is no list.
SystemCore sidebar, labeled Devices. Click a row to open that motor on Control, Config, Health, or Firmware. USB-C has no list — the cable is the device.
Identify BrowserSystemCore Blink the rear window white so you can find that motor.
Device header — the Identify button next to the motor name. It stays on every page (Control, Config, Health, Firmware). Paints both status lights white, flashing, for about 2.5 seconds, then they return to the controller pattern. Use it when two motors share a drawer and you need to know which CAN ID is in your hand.
Enable and stop BrowserSystemCore Output needs an explicit Enable. Spacebar is STOP ALL.
Control page — Enable. Nothing spins until you press it. Disable, spacebar, hiding the tab, or closing the page coasts every motor this app is driving. Re-enable does not resume the last setpoint — it starts at zero. A setpoint older than 100 ms coasts on the controller too; the slider is held, not clicked once.
Duty cycle BrowserSystemCore Open-loop, −1…1, fraction of bus. Bench bring-up.
Control page — Duty Cycle mode. Same quantity as setDutyCycle in robot code. The stator limit does not govern duty. Use Current or Velocity on a mechanism that can stall. Code
Current BrowserSystemCore Torque-current in amperes, signed. Bounded by the stator limit.
Control page — Current mode. For a mechanism that can jam. Set stator and supply on the Config page first. Current limits
Velocity BrowserSystemCore Closed-loop mechanical RPM, signed.
Control page — Velocity mode. Enable, then drag the slider or type an RPM. Gains are on the Config page. The graph on this same page tracks the setpoint if Velocity is selected there.
Position BrowserSystemCore Closed-loop multi-turn position, relative to power-on.
Control page — Position mode. Not an absolute encoder pose. After a brownout, re-zero against a known stop. Soft limits on the Config page are in the same frame. Robot code can also work in mechanism rotations. Mechanism units
Follower BrowserSystemCore This motor copies another Cyclone on the bus, aligned or opposed.
Control page — Follower mode, and the Follower card on the Config page. Pit only. Pick the leader’s CAN ID and whether the shafts turn the same way or opposite. Enable on Control first.
Follow is a command, not flash. A battery swap, brownout, or power cycle on that motor clears it. Disable and a fault do not. For a match, issue setControl(new Follower(…)) from robot code in robotInit() so the pair comes back every boot. If only that motor reboots and the RIO stays up, robotInit() does not run — re-issue when hasLikelyRebooted() is true. Code
Setpoint and graph BrowserSystemCore Slider, number, presets. Live plot you can pause and export.
Control page — the slider, number field, and graph under the mode tabs. Presets are per mode. Profiled modes add acceleration and cruise. Pick signals, sample rate, and time window on the graph; export CSV of the visible window. Pause freezes the picture; it does not stop the motor — use Disable or spacebar for that.
CAN ID BrowserSystemCore Set 1–62. Burn writes it. The device re-enumerates on the new ID.
Config page — Identity, CAN ID. You can also edit the CAN badge on the device header. The ID is staged until you Save to flash on this page. After the burn the motor reboots and comes back on the new ID. Duplicate IDs on the same bus will not run (blue, together on the status lights).
Invert BrowserSystemCore Positive command direction, looking at the output-shaft face.
Config page — Motor Output, Inverted. Invert lives here, not in the Java constructor. If the mechanism runs the wrong way, toggle it on this page. Factory default is TBD. Motor orientation
Current limits BrowserSystemCore Stator (torque current, max 160 A) and supply (PDH, max 60 A).
Config page — Current Limits. Set stator and supply for that mechanism — not 160 A stator on an intake. SWYFT Link is the pit path. Match code still belongs in robotInit(). Current limits
Thermal BrowserSystemCore Fold start and fold end. Hardware trip is 85 °C.
Config page — Thermal. Warn / fold is configurable 40–80 °C. At trip the output is cut (orange, brief offset flashes). Let it cool; do not keep enabling into the same jam. Faults
Soft limits BrowserSystemCore Forward and reverse stops, relative to power-on.
Config page — Soft Limits. Enable forward and reverse separately. They are not an absolute encoder pose. After a brownout the zero has moved.
Gains BrowserSystemCore Three slots. Apply is live. Save to flash keeps them across reboot.
Config page — Gain slots. Velocity, position, and the kP / kI / kD / kS / kV / kA / kG set on the active slot. Change a gain, Apply on this page, then run a step on the Control page. Unburned changes are lost on power cycle. Config is locked while the output is enabled — Disable on Control first.
Apply and save to flash BrowserSystemCore Apply hits RAM now. Save to flash survives a reboot.
Config page — Apply and Save to flash. A dirty dot on the Config tab means something is edited and not applied. “Unburned” means it is on the motor now but will vanish at power-off. CAN ID is staged: it does not take effect until Save to flash, which reboots the device.
User LEDs BrowserSystemCore Colour on lights 1–5, or one animation. Not stored across power loss.
Config page — the LED panel. Per-LED colours, or Static / ChaseForward / ChaseReverse / Breathe / Rainbow. Colour and animation are exclusive. Status lights (physical 1 and 7) are not programmable. Black on all five returns those five to the controller; that is not off. Put team colour in robotInit() if you want it every match. Status lights
Faults BrowserSystemCore Active and sticky. Clear sticky here. The window still shows the pattern.
Health page — active and sticky faults, Clear sticky. A fault on the two end lights always wins. Clear sticky here after the cause is gone. Do not use the middle five as the only driver signal. Faults · Status lights
Live gauges BrowserSystemCore Temperature, current, bus voltage, velocity. Event log under that.
Health page — the gauges and event log. Use this in the pit when the motor is hot, the breaker is close, or the bus is sagging. The same signals can be plotted on the Control page graph.
Update Browser Browser only. Connect the motor through USB-C. Bundled image, or a file you pick. Then the motor reboots.
Firmware page in the browser, with the motor connected through USB-C. Shows the installed version. If an update is available, a badge on the device and on the Firmware tab points here. Pick a file to flash that instead of the image built into the app. One Update button either way. Status lights go white, solid, during the transfer. SystemCore does not install firmware.
DFU recovery Browser Bring a controller back when it will not enumerate after a bad flash.
Firmware page in the browser, after the DFU button sequence below. Connect the motor through USB-C. Disconnect the battery and every other supply on the power leads.
Console BrowserSystemCore Same actions as the pages, as typed commands.
Console page. help lists the commands. Enable, duty, current, velocity, position, get/set/burn, faults, identify, reboot, firmware. In the browser, with a motor connected through USB-C, dev forwards a raw line to the controller’s own console and prints the reply — that is how you reach a firmware verb the app has no button for.
Docs in the app BrowserSystemCore Cyclone documentation ships inside SWYFT Link.
Docs page. The browser build is one file so a pit with no internet still has the pages. This site is the same material, easier to read on a laptop.
DFU recovery
Use DFU only when the controller will not enumerate — typically after a failed flash.
- Disconnect robot power. No PDH, no battery, no other supply on this motor.
- Hold the DFU button.
- While holding, plug in USB-C. Battery off. No other supply on the leads.
- Wait 1–2 s until USB-C is seated and the red power LED next to the DFU hole is on.
- Release the DFU button.
- Recover the image in the SWYFT Link browser app.
- Unplug USB-C. Power normally. Confirm identity in SWYFT Link.
If the battery, PDH, or any other supply is still on the power leads during DFU, stop and start over. The red LED next to DFU must come on from USB power before you release the button.
NEXT Code